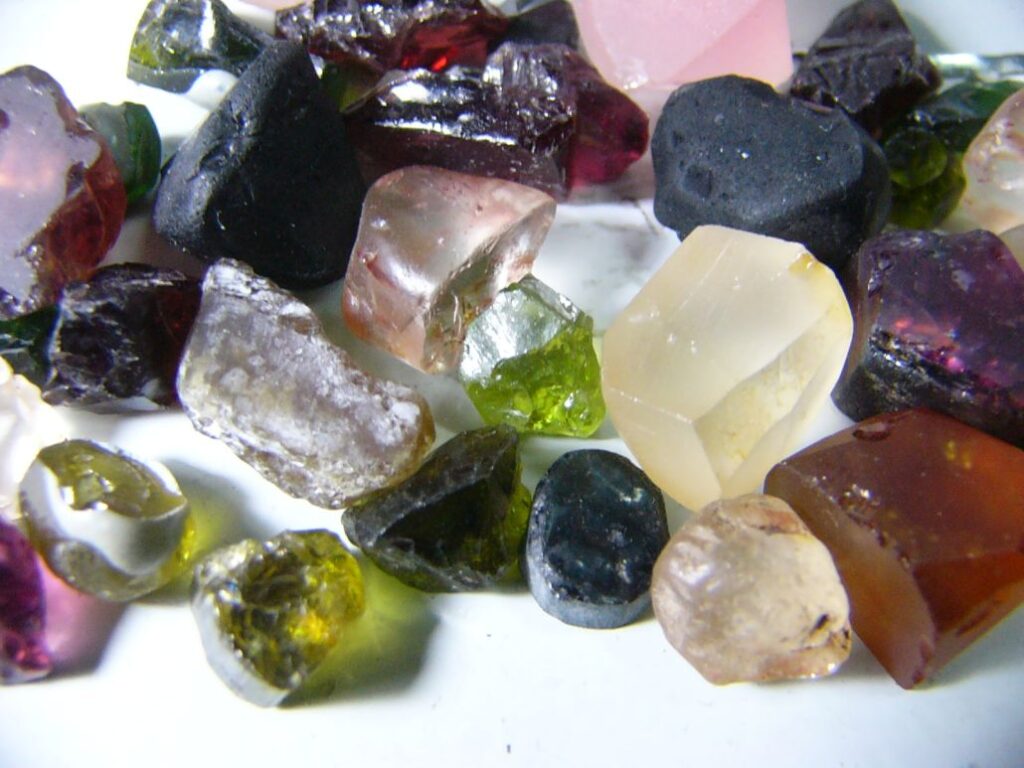
Throughout Australia and the United States, there are many public areas where you can go and find your very own rough straight from the ground.
You will need to research where the public fossicking field is in your area. One method is to contact your local gem lapidary or club in your area. They will guide you to the areas where you can give it a try. Maybe they even have a fossick day you can join in.
After that, all you need is some free time and patience!
What you need for gem fossicking.
You do not need much to look for gemstones, just a few essentials to get you started.
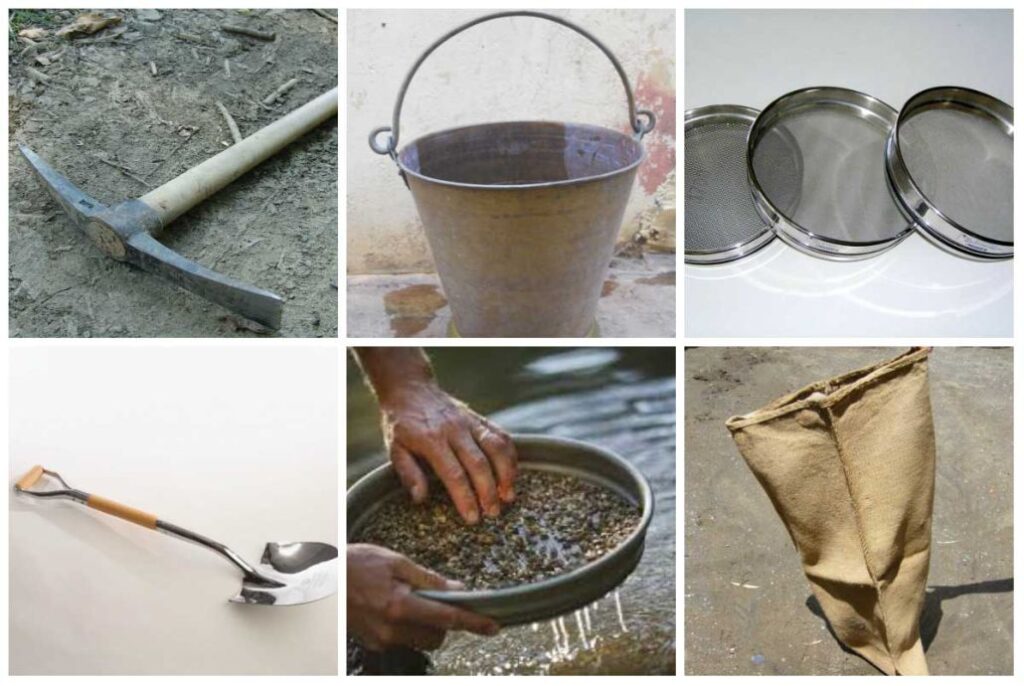
- Picks – sometimes you need to loosen the ground with a big pick.
- A small shovel – to scoop out the dirt from your hole, often the top layer is discarded.
- Buckets – need a few sturdy tin ones to place your dirt in. As you dig deeper you will start seeing rocks and gravel, sapphires go deep into the ground as they are heavy, the sapphire is sometimes amongst the bottom area of the gravel and rocks.
- Sieves – Different sized weave a fine sieve, a medium sieve and one with larger holes
- A large tub of water – to wash the dirt from your stones
- An old sack – to tip your cleaned sieved collection of rocks onto upside down.
Depending if it is a just a day trip or a weekend adventure, maybe you will want to pack your camping equipment!
Fossicking Tip
When you arrive at the public fossicking areas, there may be a general store that can give you some local tips and tricks to finding a gemstone in the area, you might be able to rent the equipment from one of the shops.
The Different Fossicking Methods:
There are a few different methods for fossicking, we are going to discuss fossicking methods for just two types of stones, the topaz and sapphires using the dry and wet sieve method.
The Wet Sieve Method Using A Willoughby
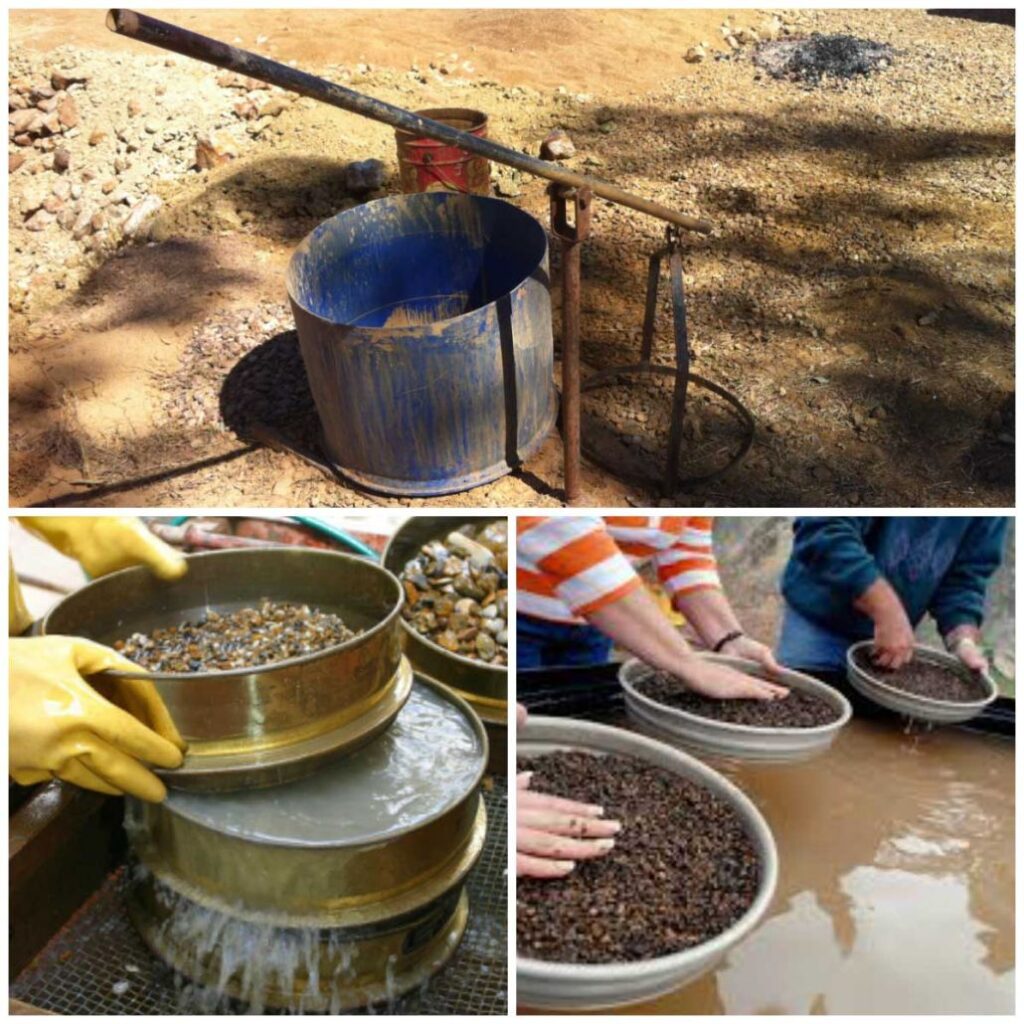
The most common method to sort through your bucket is to remove the dust from the wash, clean the stones using the sieves and a Willoughby filled with water, this is commonly known as the wet sieve method. Once the stones are clean, flip the sieve upside down carefully onto a hessian bag, or similar on a table positioned in the sunlight. Starting at the center of the pile, examine the washed stones carefully for colour. Examine the entire contents of each sieve keeping in mind that most gemstones will stand out when wet.
When starting out, you might find you do not get all the gemstones to fall to the center as they should. Once you have finished searching the center, extend out to the outer edges of the pile.
The Wet Sieve Method Without a Willoughby
If you do not have a Willoughby, you can also shake the stack of sieves in a large barrel of water by hand. Jiggle the stacks up and down repetitively but gently. Slowly turn your sieves to 3 o’clock, 6 o’clock and 9 o’clock while keeping them flat and still jiggling. Sapphire are heavy and will make their way to the center of sieves.
Dry Sieve Method
Dry sieving is a common method used to extract the gemstone Topaz. Look in dry riverbeds and gravel deposits as the rains and flooding tend wash the Topaz toward the creeks and gravel deposits.
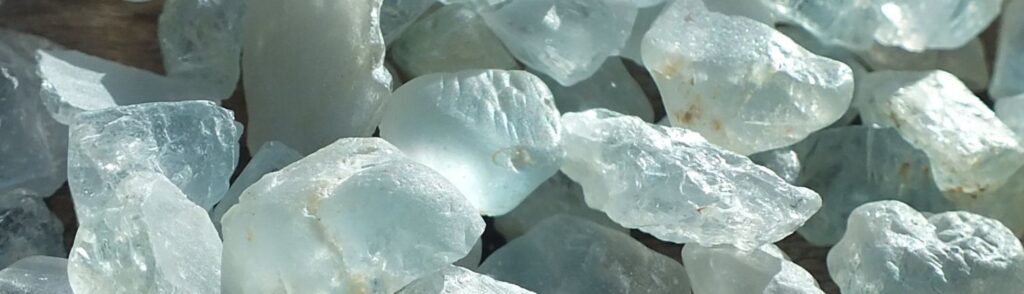
For the dry sieve method we use one large sieve to filter the stones. By gently rocking the sieve back and forwards, you quickly spearate out the gravel and the dist. Eventually you are left with larger pebbles and stones. Topaz is easily identified as clear or frosty crystals or waterworn rounded pebbles, ranging in sizes. The sizes can range from 2 or 3 centimeters in diameter. However, the most common colours is clear or very light blue.
How to Fossick For Topaz: The Dry Sieving Method
What you need:
- One large sieve
- A pick
- A shovel
- and a bucket
Using the above tools, we are going to using the dry sieving method to hunt for the topaz gemstone.
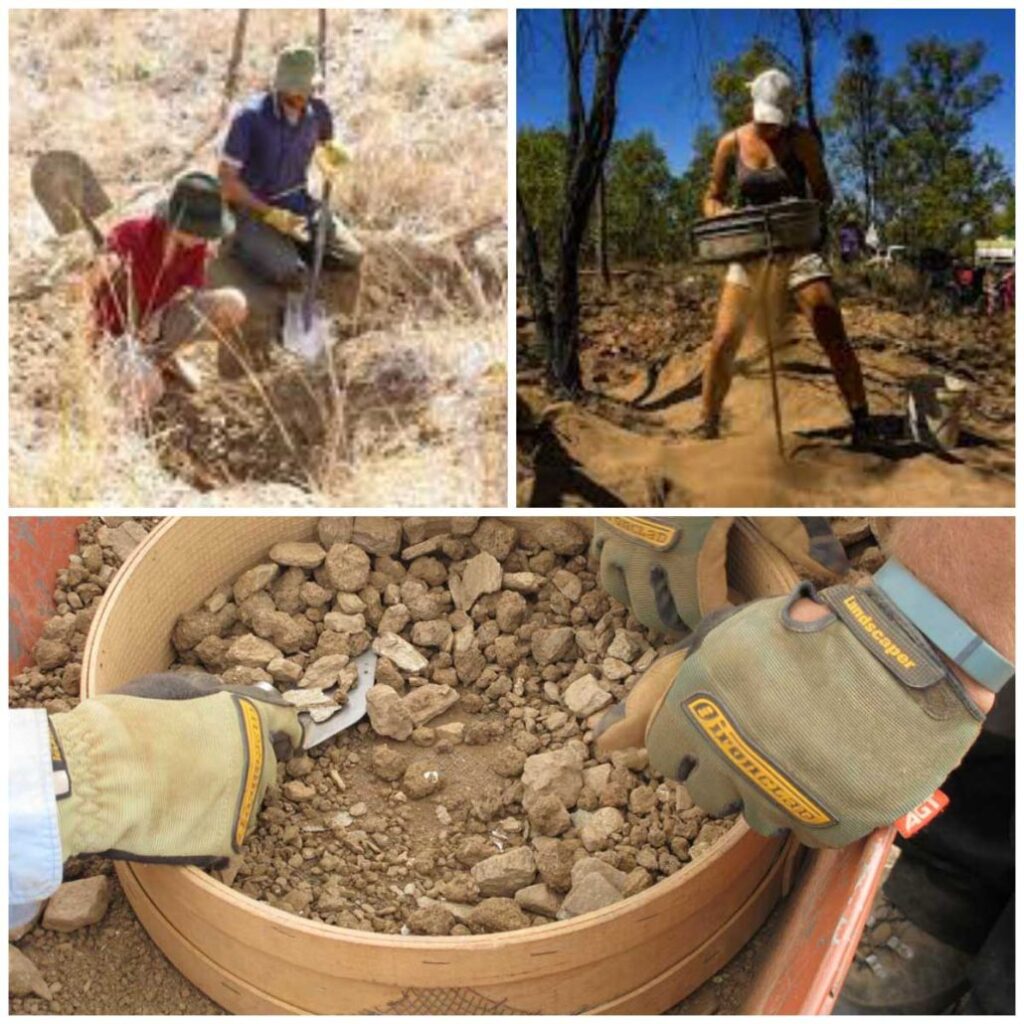
1.Try to find an old stream bed that hasn’t been disturbed, then dig into the side of banks and place the dirt you collect into the sieve.
2.Once you have enough dirt and it’s not too heavy to pick up, shake your sieve until tiny particles of dirt fall through the holes and the dust disappears.
3.Keep an eye out for a gleam like a piece of glass or any type of glittering. If in doubt on identifying the stone, just put the piece in a jar to get expert advice from a fellow fossicker.
Hillside Gem Feilds
If the gemfield is on a hillside, like Queensland, Australia’s Mount Surprise topaz fields, instead of an old creek bed, you will have to have a scratch around and dig a little into the surface. Once again, keep an eye out for a gleam as if the sun has picked up a shine from a piece of glass. You should also try to move a few rocks, and use your sieve to sift through the dirt.
How to Fossick For Sapphires: The Wet Sieve Method
What you need:
- Pick
- A small shovel
- Buckets
- A set of sieves with different sized holes grades
- A large tub of water
- An old sack
1.First you must dig yourself a bucket of dirt, you can make your own hole or start using an existing hole and dig into virgin ground.
2.Fill your bucket with dirt. Throw any large rocks to the side and anything else that definitely won’t be a sapphire. Remember digging under large rocks may be primed with sapphires waiting to be found.
3.Take the buckets to your set of sieves near the tub of water. Tip the contents of your bucket into sieve and shake the sieve until the tiny dirt particles have all fallen out.
4.Once all the large rocks are thrown out and all the tiny dirt particles and sand have dropped through, you take your set of sieves to your tub of water. Its important to keep the sieves still locked together. Jiggle the stack up and down repetitively but gently. Then slowly turn your sieves to 3 o’clock, 6 o’clock and 9 o’clock while keeping them flat and jiggling up and down. Sapphire are heavy and will make their way to the center of sieves.
If you are not keen on the heavy labour, you can also use a willoughby to hold the sieves together and bounce up and down in the water for you by pumping a handle.
5.When you think your rocks are clean enough, take the sieves over to your old sack and gently take apart your sieves. Start with the top one and flip it over in one fluid motion onto your sack – This may take some practice! Usually the sapphire will be in center and will now be sitting on top. Use an old blunt knife to gently move the rocks aside. Keep an eye out for something that glitters, they are sapphires!
6.If you find nothing, dump the sack contents out and repeat step 5 with your middle sieve until you have eventually done all your sieves.
Here are five tips to improve your sapphire fossicking chances.
Tip 1: If you shaked it evenly, the sapphire will be in center, but this takes some practice, so for beginners you might find the sapphire can be anywhere in your mound of rock and dirt. If this is the case, keep searching throughout your pile of rocks looking for a gleam.
Tip 2. Its best to do this in full sunlight, not a cloudy day as you need the sunlight to help you identify the gleam of a sapphire.
Tip 3. Remember sapphire are very heavy, they will tend to sit on bedrock, so sometimes you may have to dig quite deep down to get to the good stuff.
Tip 4. If the bedrock (very hard rock that the sapphire can’t go through) has a indentation, clean out that dip, chances are a sapphire fell in there.
Tip 5. Remember, if you’re not sure of your rock, put it in the jar and when you get back to your campsite shine a torch under it, or if it’s sunny hold it up to the sun, if you can see into it or through it, you could have found one.
Other Fossicking Methods:
What is Specking?
Specking is a good easy way to find gemstones, best done straight after a downpour of rain but can be done anytime. Just walking around and spot a gleam sitting on the surface. On closer inspection you discover it’s an opal or a gemstone! Younger kids have keener eyes than adults and can spot them easier, it’s a good family outing.